

_4179")


When it comes to postpartum core and pelvic floor training, many people assume that the sign they’re ready to progress is the absence of symptoms — no leaking, no heaviness, no pain. And while these are important markers to pay attention to, they don’t tell the whole story.
Readiness isn’t just about what you don’t feel — it’s about what your body can do. The pelvic floor is part of a larger pressure and stability system that involves the diaphragm, ribcage, core, and hips. Progression means this system can handle more: more load, more movement, more impact, and more complexity.
In practical terms, being ready to progress looks like being able to:
- Maintain breath and pressure control under resistance
- Keep the ribs and pelvis stacked during movement
- Stabilize dynamically when loads shift
- Integrate rotation without losing core connection
- Tolerate impact without symptoms showing up
This is why we cannot judge our readiness based on symptoms alone, and need to also consider whether your body can maintain control, coordination, and responsiveness under pressure. This is what prepares you for lifting heavier weights, returning to running, or simply moving through life with confidence in your system.
What Readiness Looks Like
1. You Can Manage Breath and Pressure Under Load
The pelvic floor doesn’t work in isolation — it responds to changes in breath and pressure. When you inhale, the diaphragm lowers and the pelvic floor lengthens. When you exhale, the diaphragm lifts and the pelvic floor gently contracts. If you can maintain this rhythm even when resistance is added — such as holding a band, weight, or bodyweight challenge — it shows your system is distributing pressure evenly instead of forcing it downward or forward. This is a critical foundation for moving into heavier lifts and higher impact drills, where breath and pressure management become even more demanding.
Early to intermediate progression example:
Deadbug → Deadbug with Band Pulldown → Deadbug with Cross-Body Load
- Deadbug: Establishes the inhale–exhale rhythm and pelvic floor coordination without load.
- Band Pulldown: Adds resistance overhead so the system must maintain pressure without flaring gripping.
- Cross-body load: Introduces diagonal tension, forcing the deep core + pelvic floor to share the load evenly.
What readiness looks like:
You can keep the ribs stacked, exhale without gripping, and move the limbs without your belly pushing out and doming/coning forward.
2. You Can Maintain Rib–Pelvis Stack in Movement
The relationship between the ribs and pelvis dictates how well your core and pelvic floor can stabilize. When the ribs flare forward or the pelvis tips, pressure is forced outward, often leading to gripping or bearing down. Maintaining a “stacked” position — ribs aligned over pelvis — means your deep system is managing load instead of relying on compensation. If you can hold this alignment during a split squat, lunge, or deadlift, you’re showing readiness to progress to more challenging versions of those patterns without losing core connection.
Early to intermediate progression example:
Bodyweight Split Squat → Front-Loaded Split Squat → Rear-Foot Elevated Split Squat
Bodyweight: Can you move through the pattern without losing your stack or tipping the pelvis?
Front-loaded: Adds load in a way that reinforces alignment; your core has to work to stay stacked.
RFESS: Increases both depth and demand — any loss of rib pelvis control shows up quickly.
3. You Can Stabilize Dynamically
True pelvic floor function is about how well it coordinates in real time. When you shift, rotate, or change position, the pelvic floor has to coordinate with the deep core, glutes, and adductors to maintain stability. If you can move dynamically (for example, tapping a shoulder in a bear hover or holding a side plank with adductor engagement) without losing alignment or core tension, it shows your system is working together. Dynamic stability is what carries into daily life — walking while holding your baby, twisting to grab a bag, or transitioning between movements in the gym.
Early to intermediate progression example:
Bear Hover with Iso Adductors → Shoulder Taps → Plank Walkouts
- Bear hover with iso adductors: Teaches low-level stability, breath under brace, and adductor/core integration.
- Shoulder taps: Adds shifting load; the pelvis must stay level while one hand leaves the ground.
- Walkouts: Introduces longer levers + forward movement, demanding even more control. Showing a good intro to this variation.
4. You Can Handle Rotation and Load Together
Many people can manage pelvic floor control in straight line movements, but struggle once rotation and load are layered in. Life and sport both require rotation: carrying a car seat, swinging a kettlebell, or running all involve diagonal force. When you can rotate under load while maintaining rib–pelvis alignment, balanced core engagement and breath control, you’ve reached a higher level of system integration. This is a key marker that your pelvic floor is no longer compensating, but rather participating as part of the whole body strategy.
Early to intermediate progression example:
Half-Kneeling Chop → Standing Cable Chop → Landmine Press with Rotation
Half-kneeling chop: Stable base, easy to feel core + pelvic floor coordinating around rotation.
Standing chop: Less stability, more demand on rib–pelvis alignment through the diagonal line.
Landmine press with rotation: Layers load, rotation, and shifting — a full-body diagonal pattern.
5. You Can Tolerate Impact Without Symptoms
The final readiness marker is impact. Jumping, running, or bounding create quick, high-pressure demands on the pelvic floor. If you can perform low-level plyometrics like pogos or more advanced drills like depth jumps without leaking, heaviness, or pressure symptoms, it shows that your system has built both the strength and elasticity needed for resilience. This doesn’t mean symptoms will never appear — it means your baseline ability to absorb and redirect force is solid enough to safely increase intensity.
Early to intermediate progression example:
Drop Squat → Pogo Hops → Lateral Bounds
- Drop Squat: Teaches the system to absorb force eccentrically with no symptoms.
- Pogos: Introduce repetitive, low-level impact and elastic recoil.
- Lateral bounds: Add directional change with higher demand on hips + pelvic floor.
Final Thoughts
Progression in pelvic floor training isn’t about “doing more” — it’s about layering intentionally. When you can manage breath and pressure, stay stacked, stabilize dynamically, integrate rotation, and tolerate impact, your system is telling you it’s ready.
The goal isn’t just a stronger pelvic floor, but a pelvic floor that works seamlessly with the rest of your body — responsive, adaptable, and resilient through every stage of postpartum recovery.
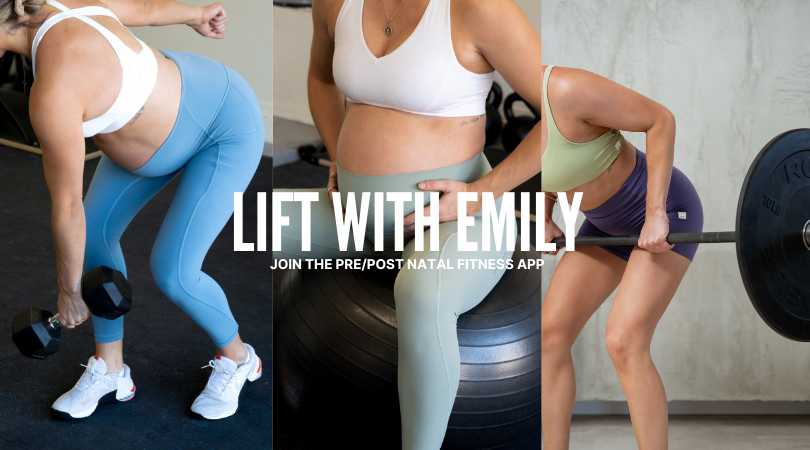
For more guidance on your postpartum workouts, and beyond, you can join the Lift with Emily App for free today.
I’m deeply passionate about helping women feel strong, informed, and confident through every stage of motherhood. You deserve more than just a list of do’s and don’ts or generic modifications. With years of hands-on coaching across all kinds of athletes and clients, I blend real-world experience with specialized pre and postnatal knowledge to create strength programs that go far beyond basic adjustments. This is high-level, accessible training - built for your body, your season, and your goals
_0595")
EXPLORE MORE POSTS
GET TO KNOW EMILY
")
")


